

Having painted the final coat of pink on the front of the guitar, leaving to dry for a few days and on removing the masking tape, I found that the line around the top where it had been masked off was mostly very sharp.

However, there were one or two areas where the pink had bled under the tape. Not a big problem, relatively easy to fix.

More annoying was that the pink spray paint had got right underneath the guitar and onto areas which I hadn't thought would be necessary to mask off.

This meant having to sand back the entire rear of the guitar again, which was a job I thought I'd already done for the last time.

After a light sanding of the pink paint on the front of the guitar, the piglet is ready to have the graphics applied.

Time to get out the original paper template (which I used to cut out the shape of the piglet earlier on in the project) and to tape it in position onto the front of the body.
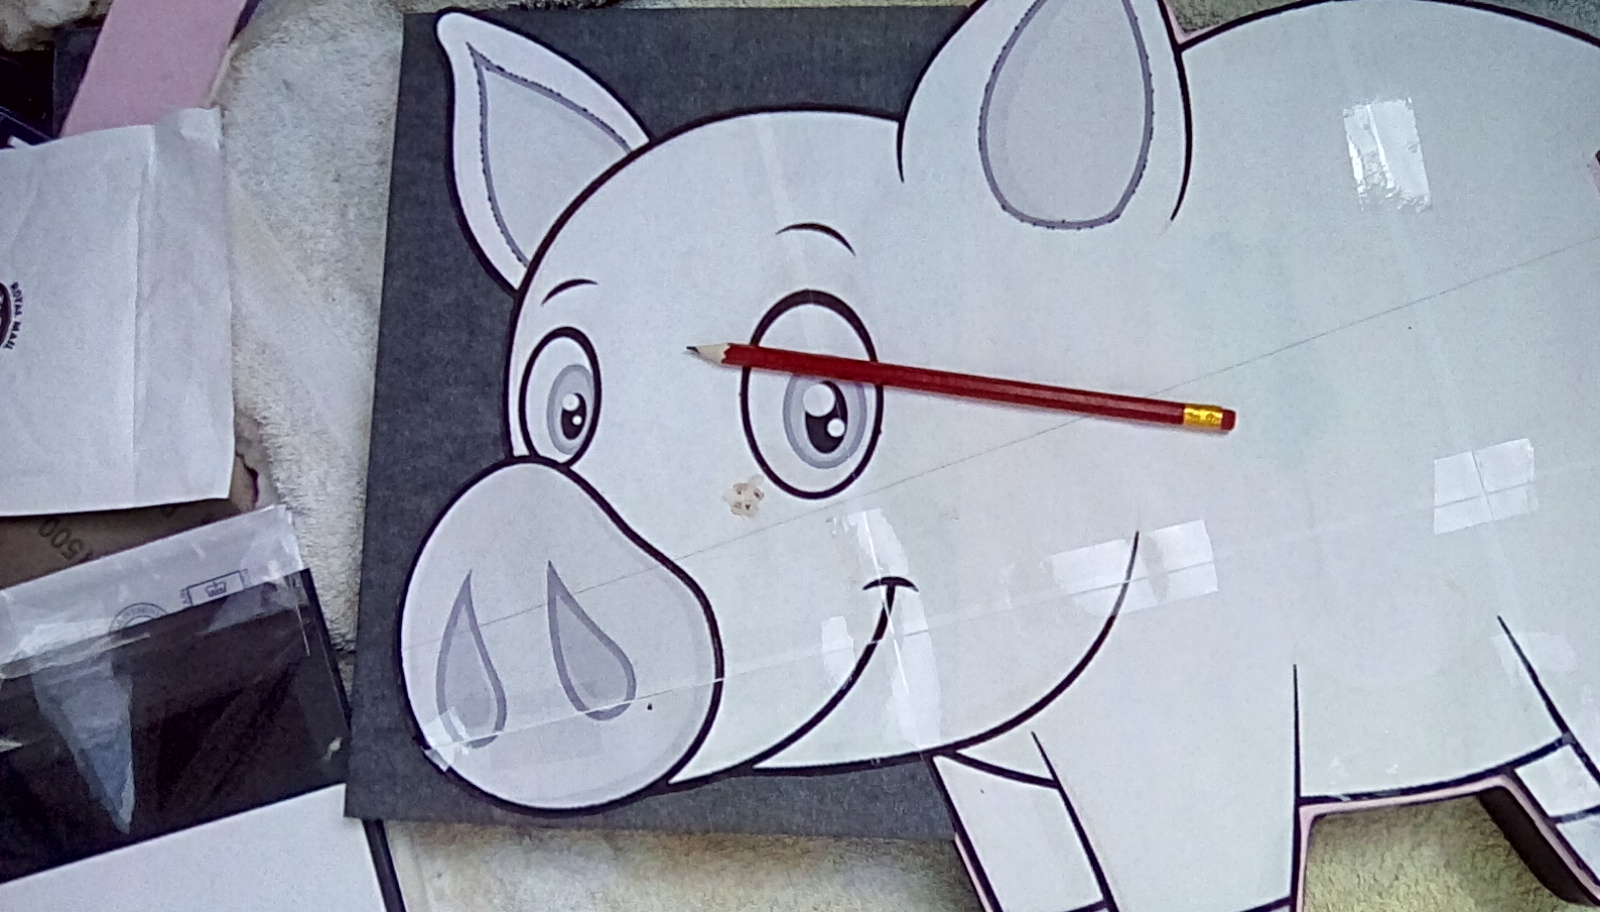
Then with a sheet of carbon paper placed beneath the template I used a pencil to trace the outline and features of the cartoon pig onto the body top.

Just checking the image is transferring correctly.

Here we see the finished transfer of the image.
Next up will be to paint in the outline. The eyes, ears, snout and trotters are going to be applied using dry rub off transfers, which I will align to the carbon markings pictured above.
G L Wilson
© 2018, Guitarz - The Original Guitar Blog - the blog that goes all the way to 11!
Please read our photo and content policy.
No comments:
Post a Comment